
Before diving into a deep clean of the kitchen sink and taps, I always make sure to gather my supplies first. My go-to essentials include baking soda, white vinegar, an old toothbrush, a sponge, and a microfiber cloth—these trusty items are not only effective but also gentle on surfaces. Recently, while clearing out the clutter around my sink, I was surprised to find a rogue potato peeler lurking among the mess! Tackling this often-overlooked area not only makes cleaning easier but also reveals how much grime can hide away. Trust me, with a little effort, your kitchen will sparkle like it just rolled off the showroom floor!
Get Your Sink Sparkling in No Time! ✨
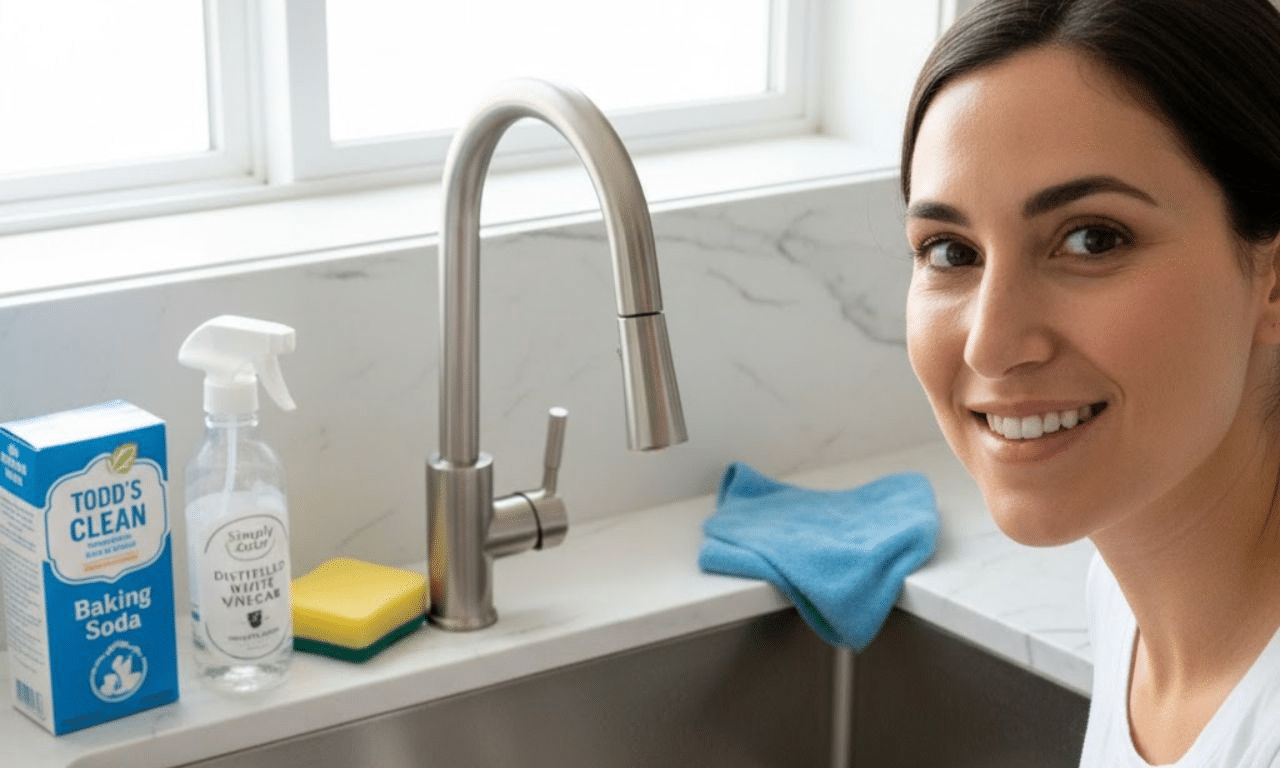
- Gather Your Supplies: Start with kitchen essentials like baking soda and white vinegar—trust me, they’re effective and fume-free!
- Clear Out the Clutter: Declutter your sink area to make cleaning easier. You never know what rogue gadgets you might find! 🥔
- Scrub-a-Dub-Dub! Use baking soda and vinegar for a fizzy cleaning experience. It’s like a mini science experiment in your kitchen!
- Tackle the Taps: Don’t forget to give your taps some love—baking soda and an old toothbrush work wonders for stubborn stains.
- Finishing Touches: Dry everything with a microfiber cloth for that shiny finish; it really makes your kitchen sparkle! 🌟
Did you know? Regularly wiping down your taps with a little vinegar can keep mineral deposits at bay, making your deep cleans much less frequent! 🧼✨
Gather Your Supplies
Before diving into the deep clean of your kitchen sink and taps, it’s essential to gather your supplies. I always start with a few basics: baking soda, white vinegar, an old toothbrush, a sponge, and a microfiber cloth. These items are not only effective but also gentle on surfaces, which is particularly important if you have a stainless-steel sink like I do. One day, I realised I was using harsh chemicals that left behind unpleasant fumes. Since then, I’ve embraced these natural options—trust me, they work wonders without the headache!
Clear Out the Clutter
Next up: decluttering the area around the sink. It’s amazing how much junk accumulates in this often-overlooked zone. Remove any dishes, sponges, or kitchen gadgets that have mysteriously found their way to this prime real estate. As I was clearing out my own space recently, I stumbled upon a rogue potato peeler—how did that even get there?! This step not only makes cleaning easier but also gives you a clearer view of what needs attention.
Scrub-a-Dub-Dub!
Once everything is cleared away, it’s time to tackle the sink itself. I sprinkle baking soda generously all over the surface and follow with a splash of vinegar. The fizzing reaction is quite delightful—it’s like a mini science experiment right in your kitchen! I let it sit for about 10 minutes to work its magic while I enjoy my morning cuppa. Afterward, I grab my trusty sponge and get scrubbing. Make sure to pay attention to those hard-to-reach corners; you’d be surprised at how much grime can hide there!
Hidden dust hotspots in your living room and how to banish them fast
Tackle the Taps
Now that the sink is looking spick and span, it’s time for the taps. They can often be overlooked during cleaning sessions but trust me—they deserve some love too! A damp cloth sprinkled with a bit of baking soda does wonders for removing water spots and mineral deposits. For those stubborn stains, an old toothbrush comes in handy; just dip it in some vinegar and gently scrub away. Recently, I had a friend over who noted how shiny my taps looked—mission accomplished!
Finishing Touches
After scrubbing away all that grime and dirt, don’t forget about drying everything properly! Wiping down surfaces with a microfiber cloth not only prevents water spots but also leaves everything gleaming. This little detail makes such a difference—I remember once finishing up and thinking my kitchen looked almost brand-new! It’s also worth giving your sponge or cloth a rinse before putting them back; we don’t want any bacteria hitching a ride back into our clean spaces.
Maintain Your Shine
To keep your sinks and taps looking their best, try to incorporate quick touch-ups into your routine after washing up each day. A swift wipe down with vinegar every now and then keeps grime at bay, making deep cleans less frequent and more manageable. A little upkeep goes a long way; I’ve found that dedicating just five minutes after dinner saves me from tackling an overwhelming mess later on! You’ll be amazed at how satisfying it is to see your hard work pay off every single day.
FAQ: Gathering Your Cleaning Arsenal
Q: Can I use baking soda and vinegar together?
A: Absolutely! When you combine them, they create a delightful fizz that helps lift grime. Just remember to apply them in stages—baking soda first, then vinegar—to get the best results. It’s like a mini science project right in your kitchen!
Q: What if I don’t have microfibre cloths?
No worries at all! If microfibre cloths aren’t on hand, you can use any soft cloth or even an old t-shirt. The key is to ensure it’s gentle enough not to scratch those lovely surfaces. Just give it a good rinse and let it dry before using it for cleaning!
Q: How often should I do a deep clean of my sink?
I recommend aiming for a deep clean every month or so, depending on how much cooking you do. However, if you keep up with those quick five-minute wipe-downs after meals, you’ll find that the deep cleans become less daunting. It’s all about those little habits!
Keep That Shine Alive!
Cleaning can feel like a chore, but with a bit of routine and the right tools at hand, it can transform into an enjoyable part of your day! Remember, every little effort counts towards creating a space that’s not only functional but also inviting. I’m excited for you to try these tips out—come back soon for more home life inspiration and let’s keep making our homes shine together!

